Bone broth has made a resurgence in recent years for its numerous health benefits, to the extent of being termed “liquid gold”, but to me, it’s mostly just an amazing base for the perfect soup… and we eat a lot of soup, hence the need for lots of amazing broth! I haven’t gotten to the point of drinking a glass straight, but I’m sure this stuff would be as good of any to start with!
We posted this week on our Instagram that we had suddenly run out of the first batch of broth we did following the butchering of our first pig in December. So our roughly 30 quarts of broth lasted us nearly 4 months! I know lots of people who aren’t huge fans of soup, but for us, soup is an easy, Dave Ramsey budget-friendly, and hearty way to pack lots of protein and veggies into a one-pot meal that doesn’t take me all day to make (and all evening to clean up after!). Given all these benefits, we eat soup probably 4-5 nights per week, and sometimes for breakfast and lunch too.
In a forthcoming post, I would love to share how I come up with recipes and hopefully empower you to tap into your soup-making expertise! But for now, I will show you how to make the best base for all your best soup concoctions: bone broth!
First I must start with the caveat that pressure cooking and pressure canning must always be done in compliance with strict USDA regulations and manufacturer recommendations. As always with food preservation, practice safe cooking and handling guidelines.
Alright, with that out of the way, on to the broth!
We pressure cook and can our broth in one of these guys, one of my pride-and-joys of the homestead: an All American 30qt Pressure Cooker.
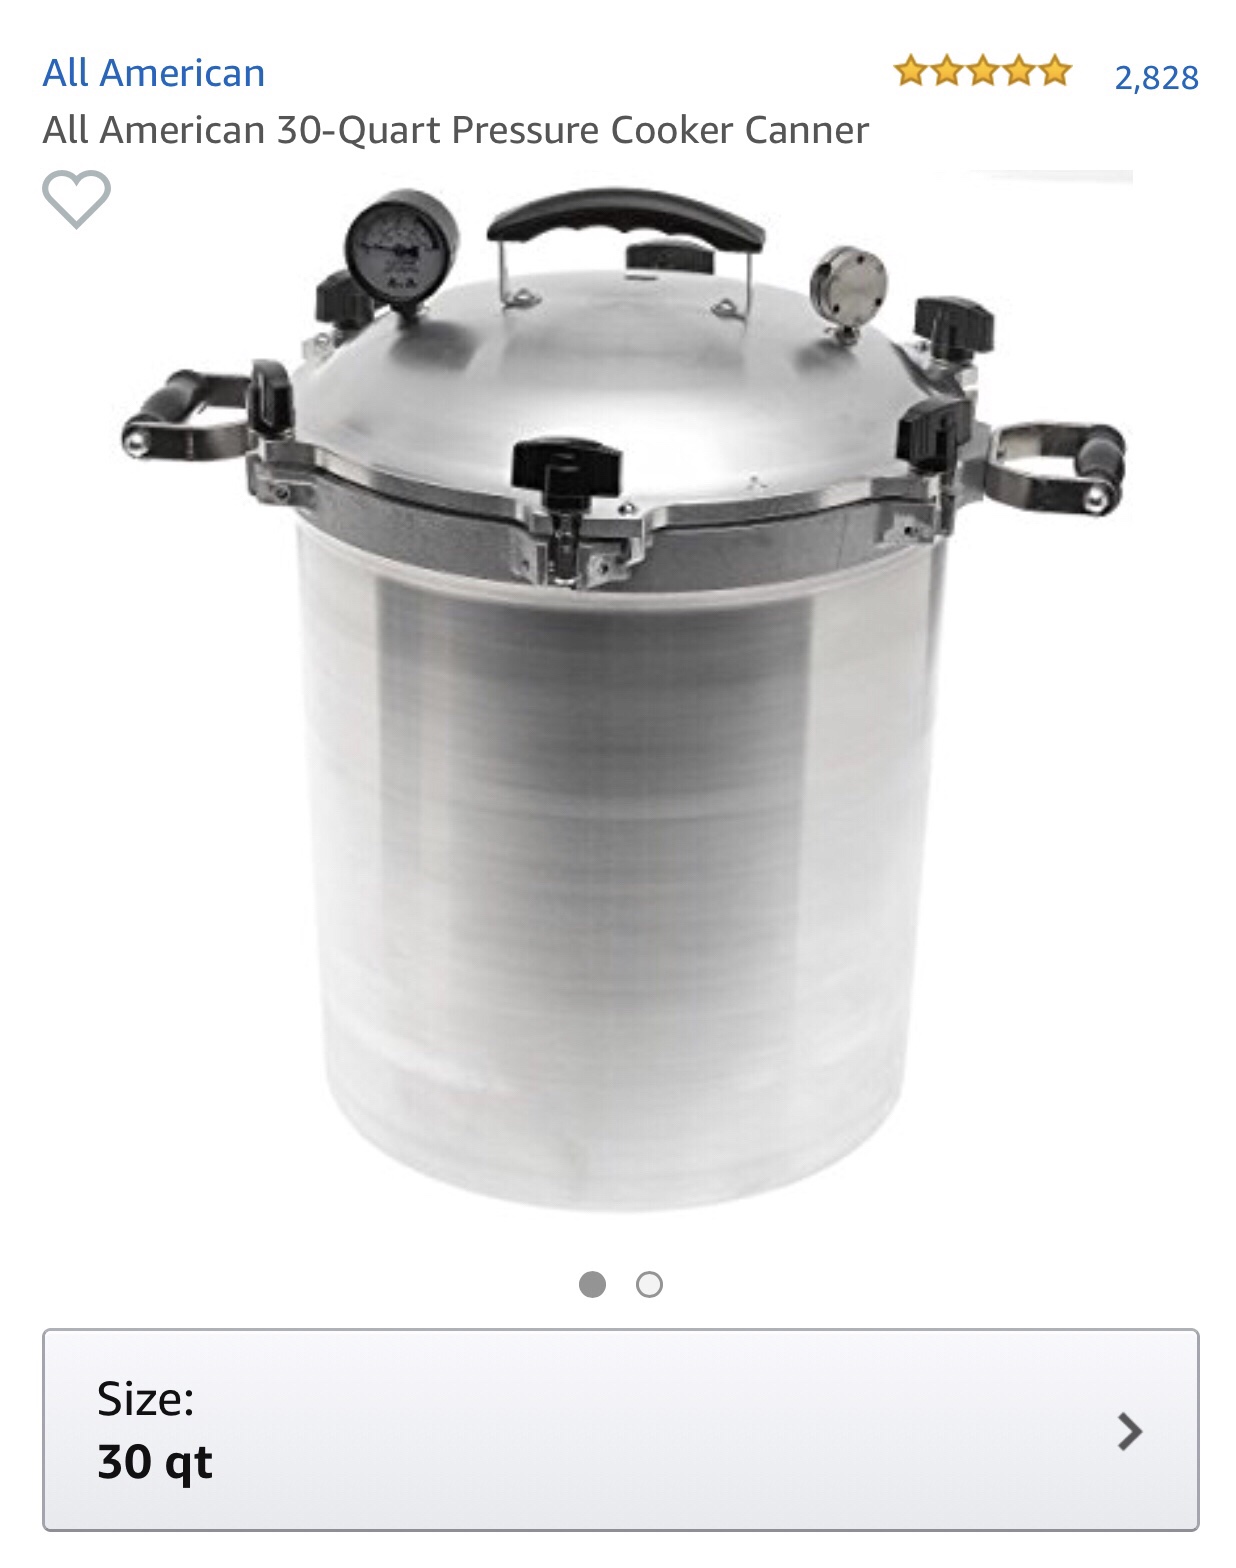
For right now, we first process the broth, then clean out the canner to process the broth in jars, but eventually I hope to own a second canner so we can have dual pressure canners. Right now, each 14 quart batch takes about a day, though much of the time is spent just monitoring and waiting.
At the beginning of the day, we start with a clean canner and add in the bones. This batch has been a mix of beef bones and meat, but we have an entire freezer full of pork bones, pig head halves, pig feet, and chicken feet. After seeing the difference between bone broth and bone broth made with feet, I am a firm believer in the goodness of collagen. 🙂
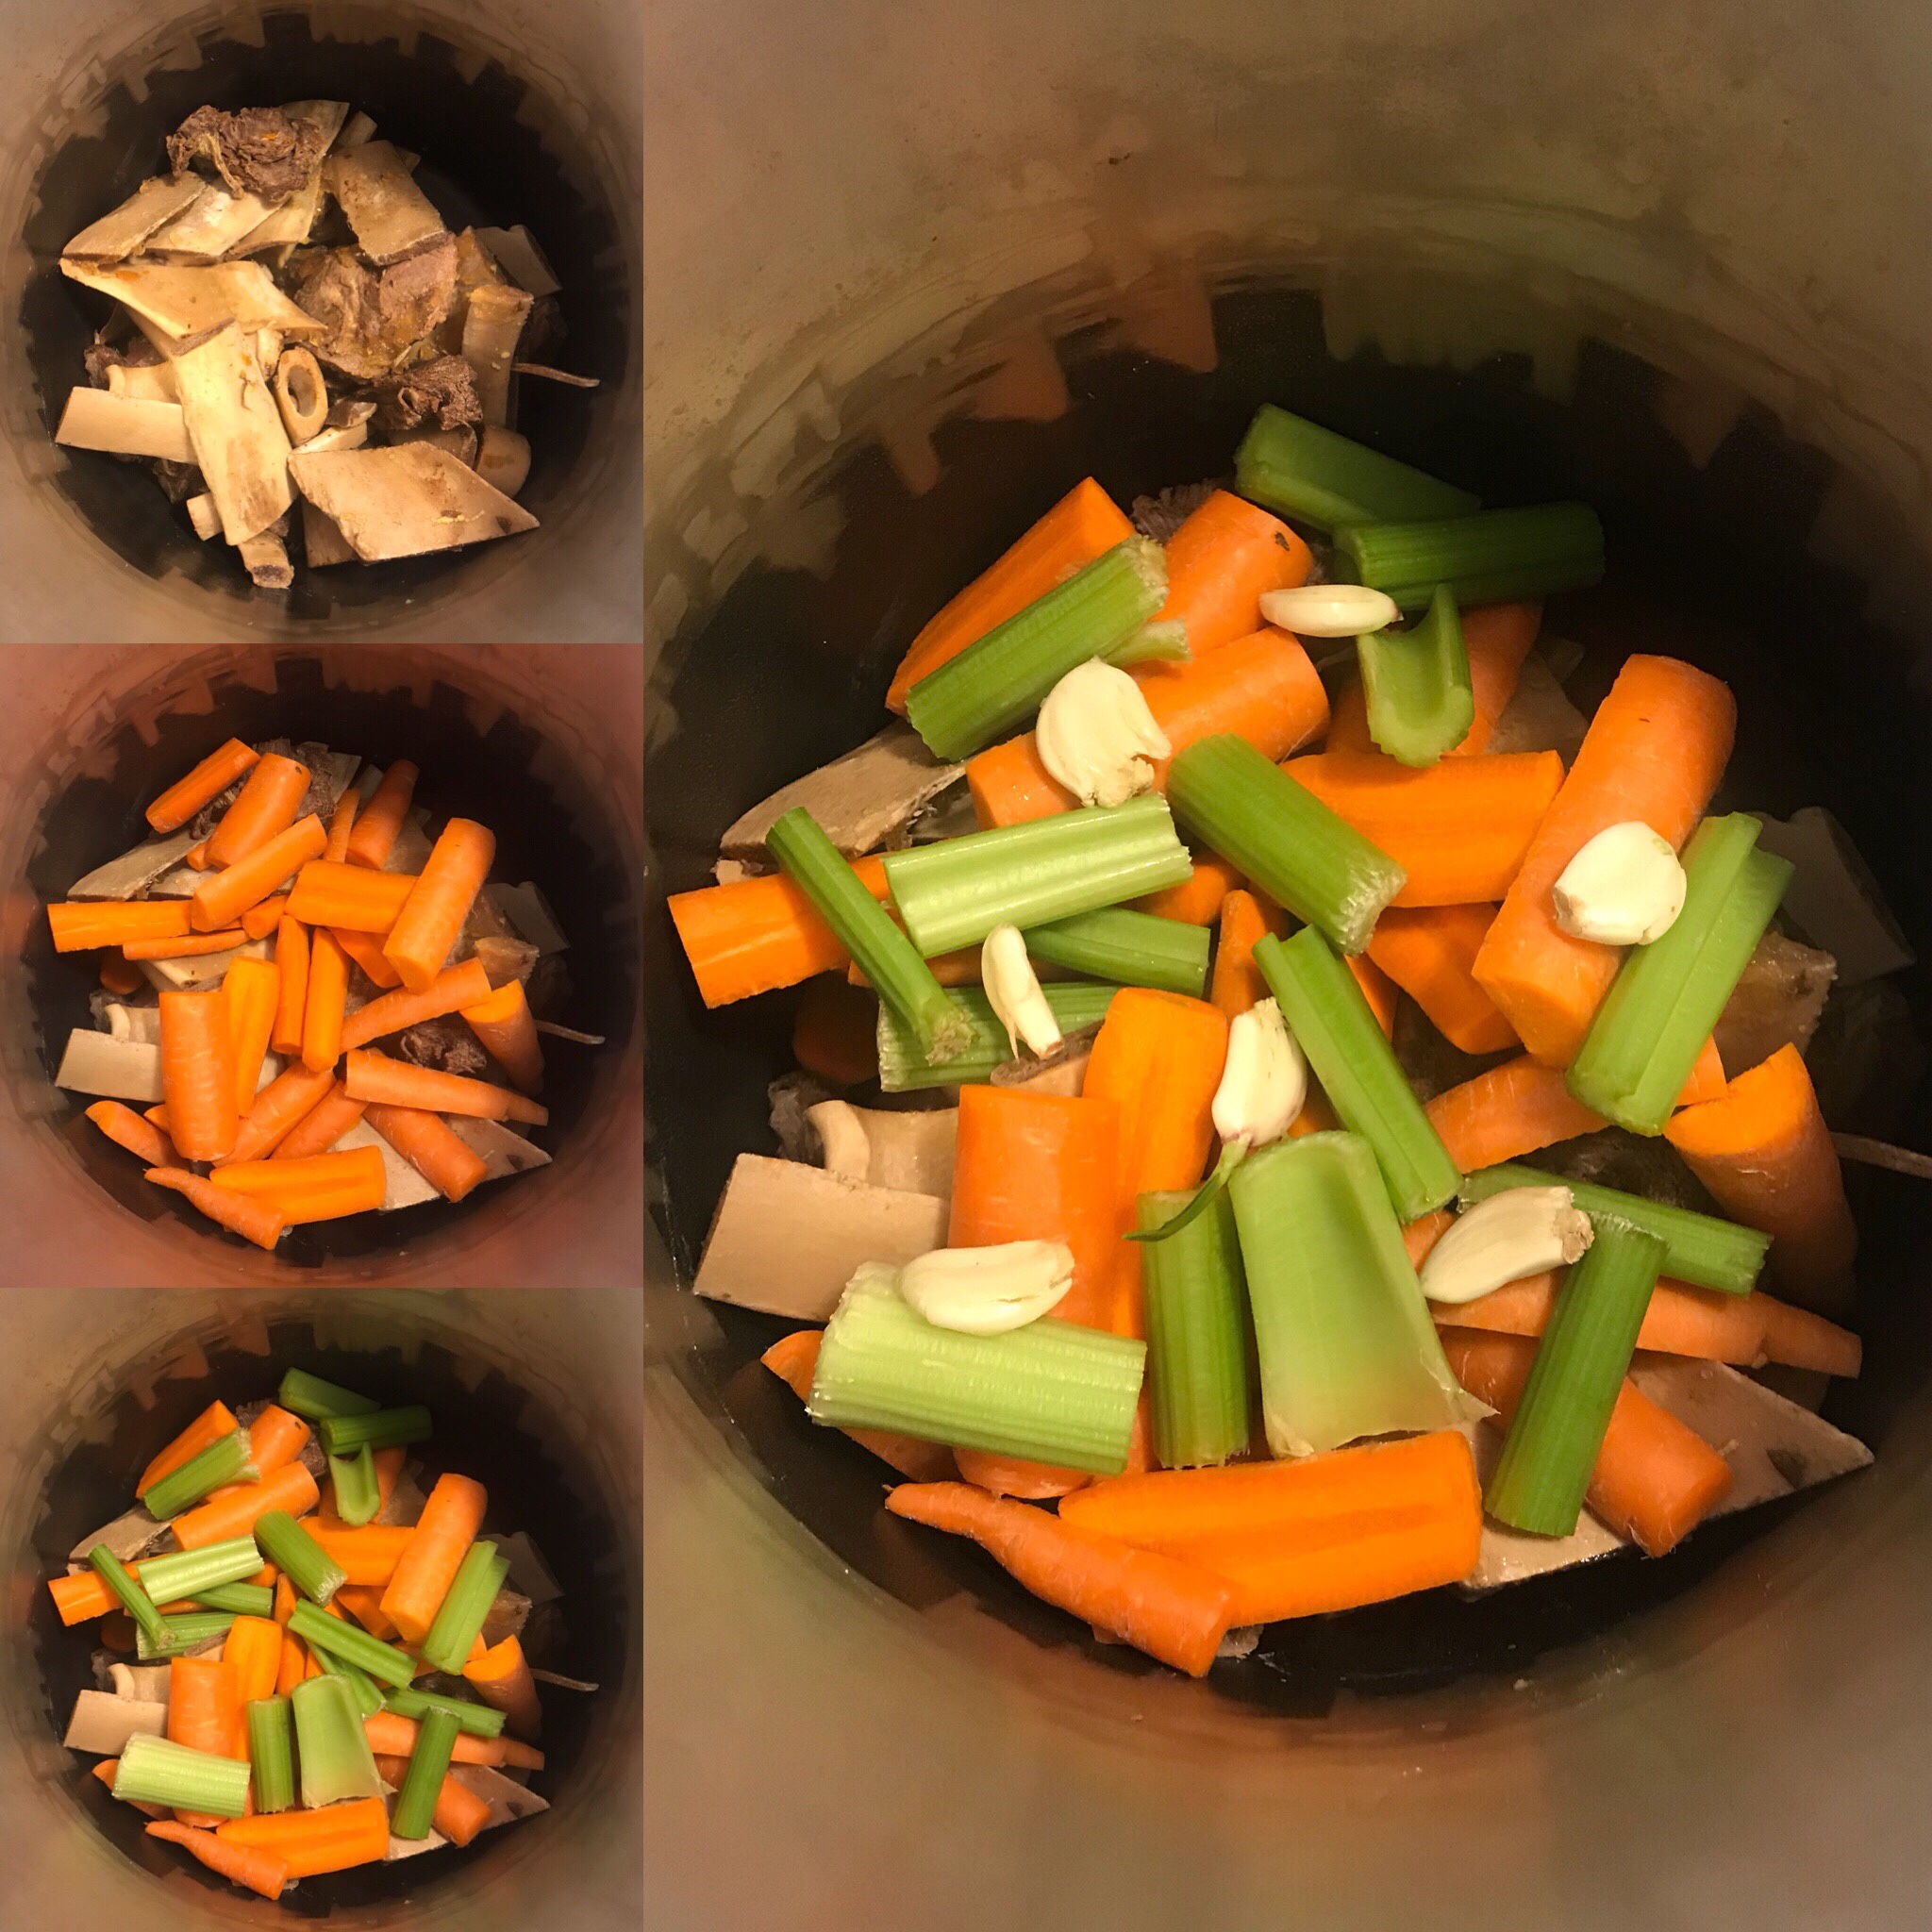
Next to add are the veggies. You can include any variety of carrots, celery, onion, or garlic. 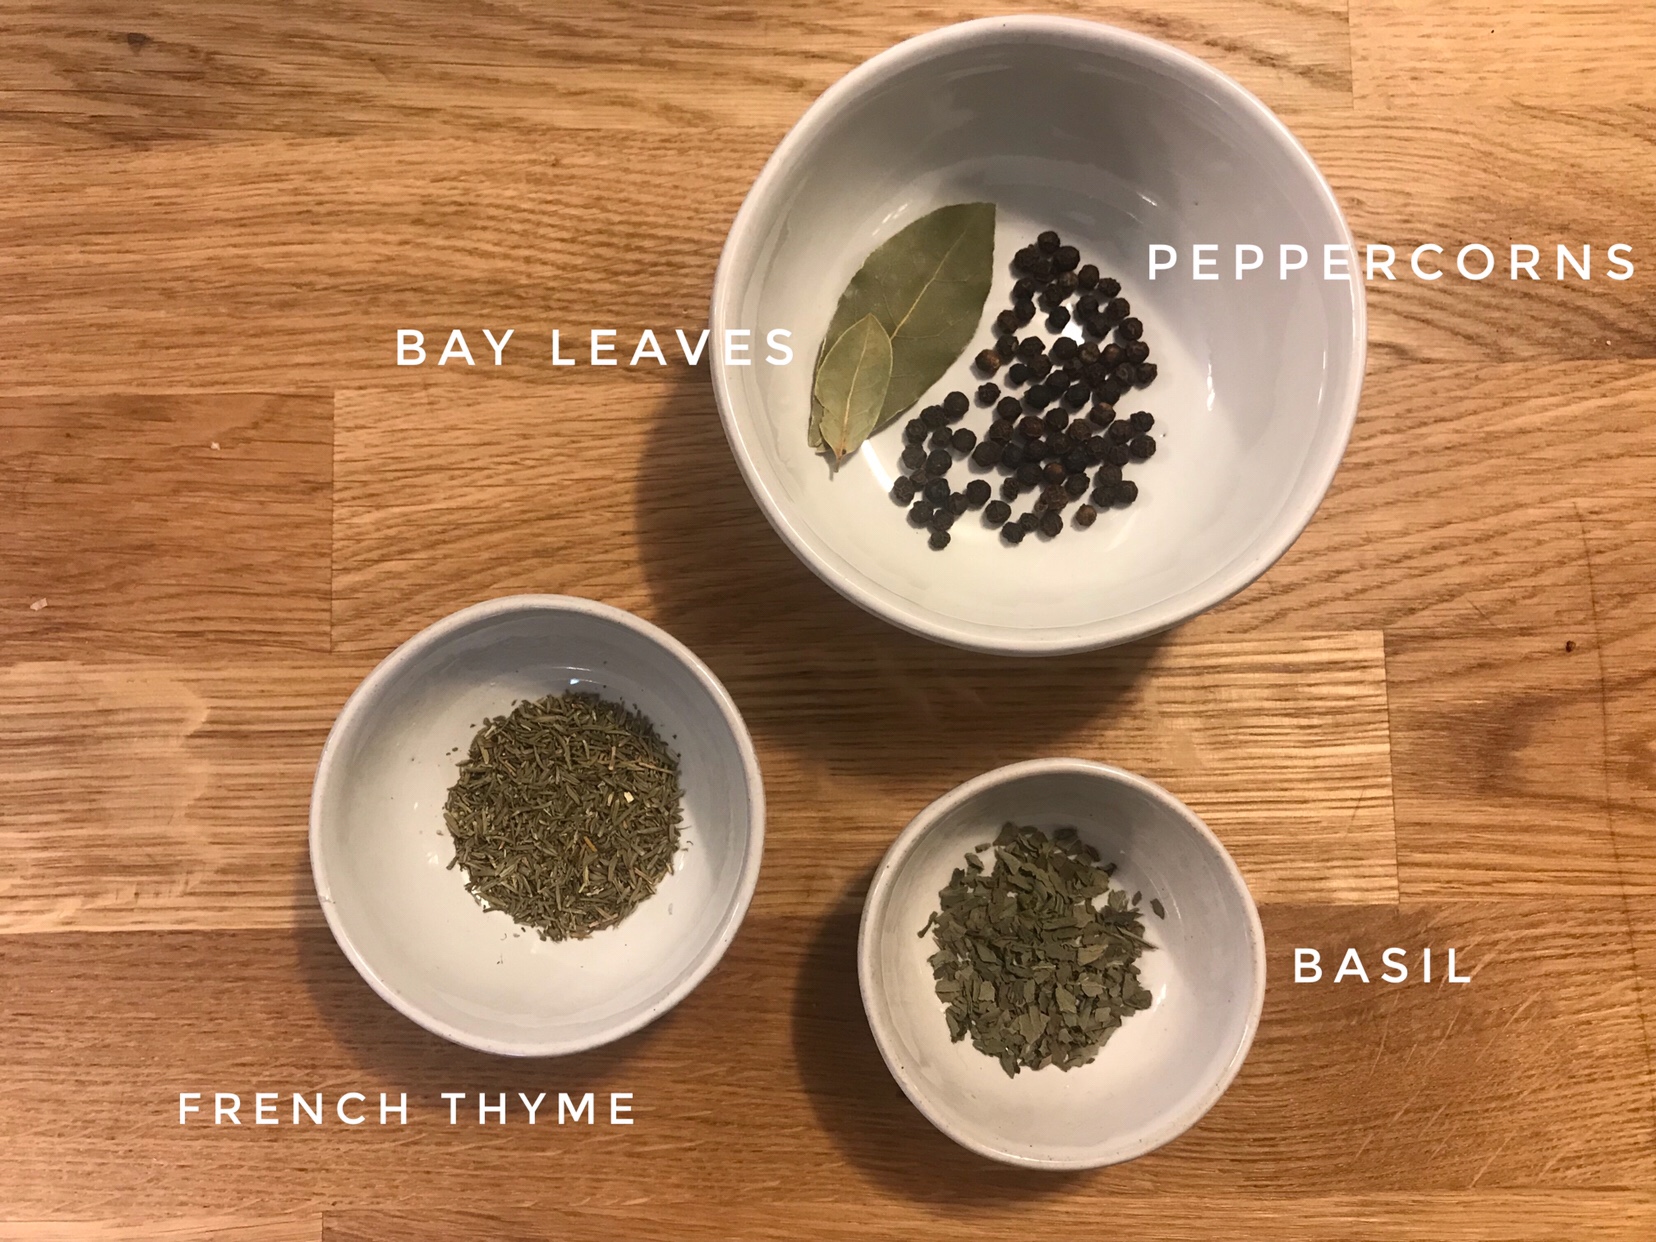
In addition to these, you can feel free to add whatever spices you think would complement the broth. Our go-to spices are thyme, basil, peppercorns, and a bay leaf or two. Just toss these in!
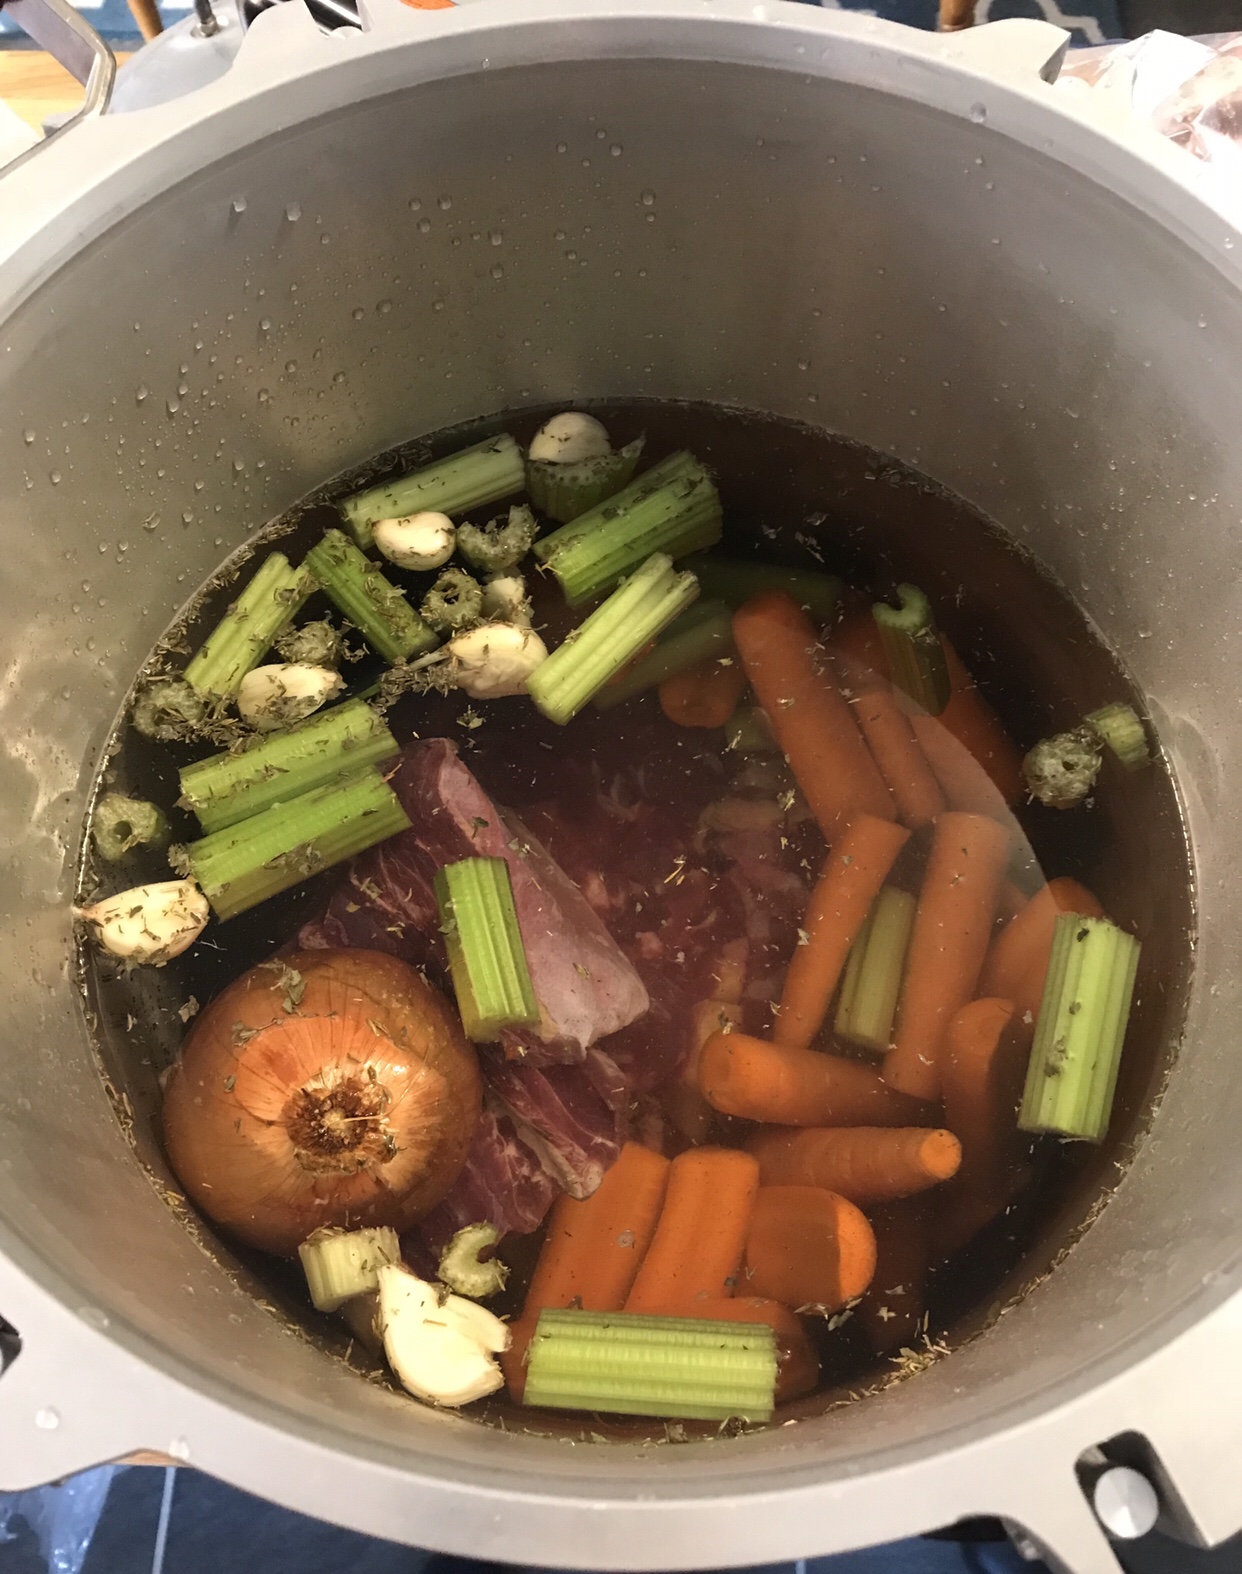 At this point, I’ve usually spent a mere 10-15 minutes prepping the veggies and sticking them in. From here on out, you’ll have to follow your pressure cooker’s recommendations for how to process the broth. We cook it for 2 hours at 15 psi. The rest of the time spent is waiting for your cooker to get up to pressure, process, and then cool.
Then comes the canning. We use narrow mouth quart jars, processed for 15 minutes at 15 psi. Once everything is cooled and sealed, we end up with delicious, shelf-stable bone broth, ready to use!
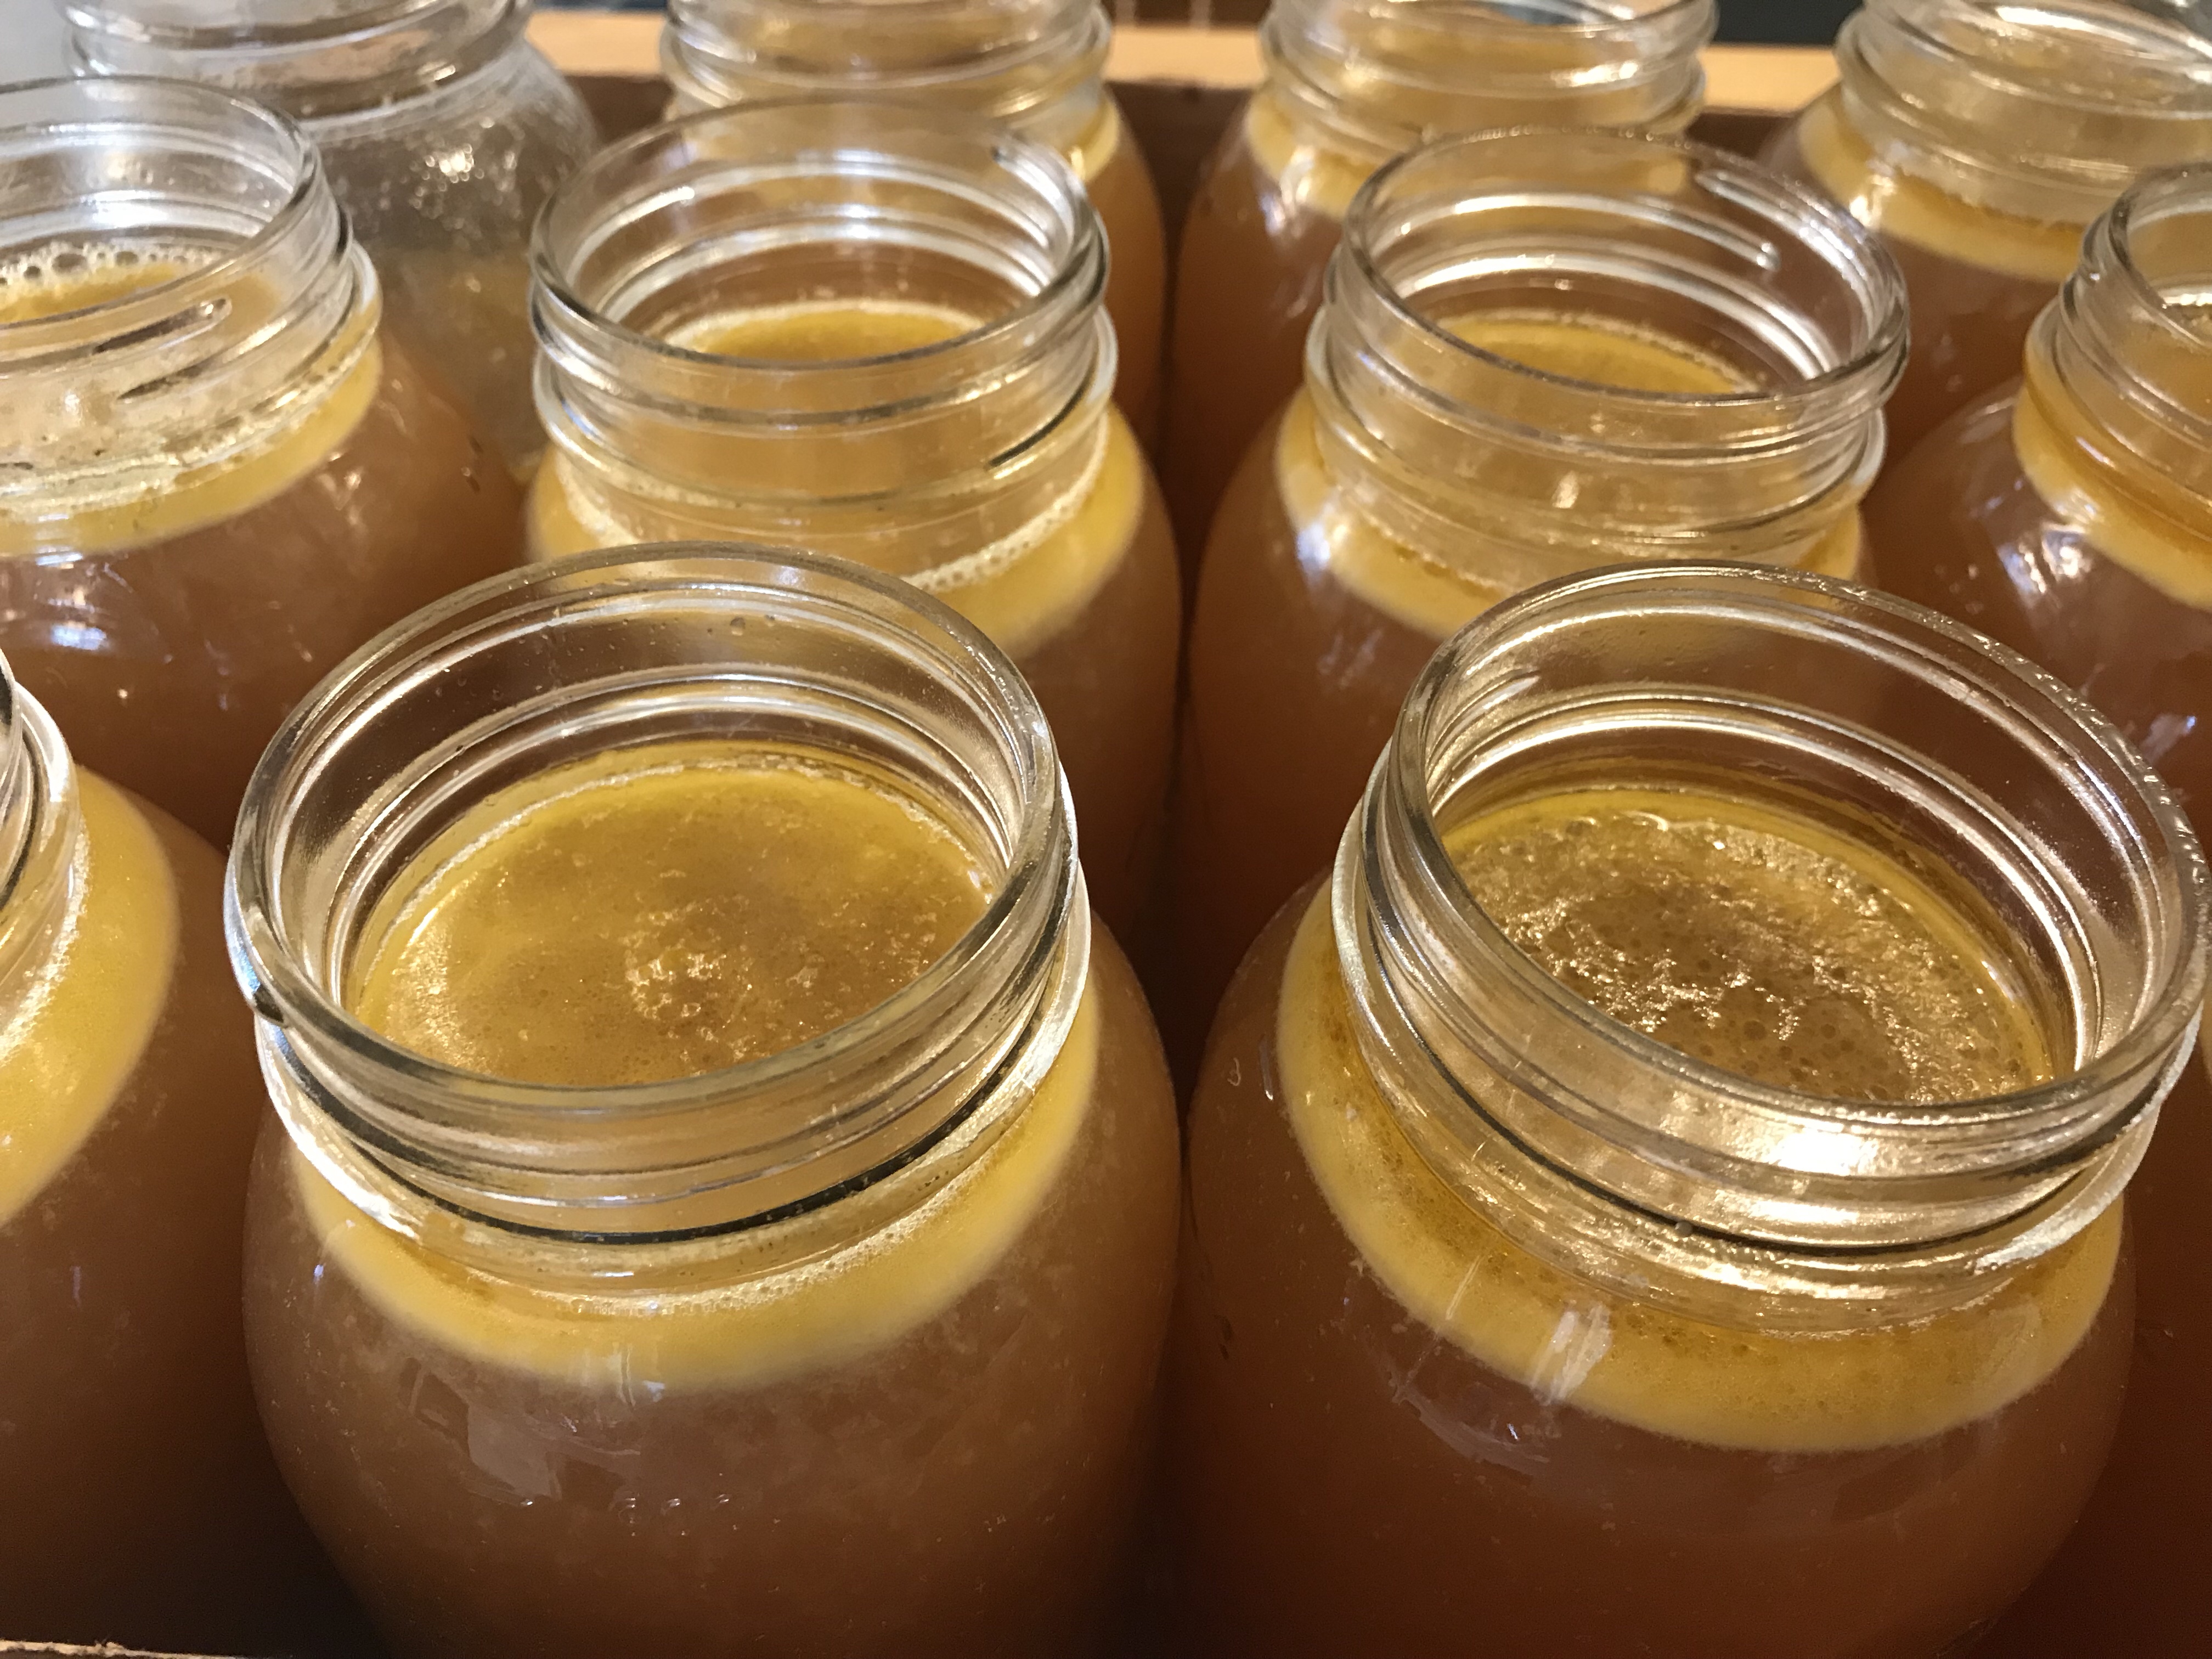
This stuff is truly liquid gold, and is THE best base for any soup!
Oh man, I cannot wait to have the time, space, and time to start canning! I love, love, love making soup and every time I’ve made it with homemade broth it tastes so much better.